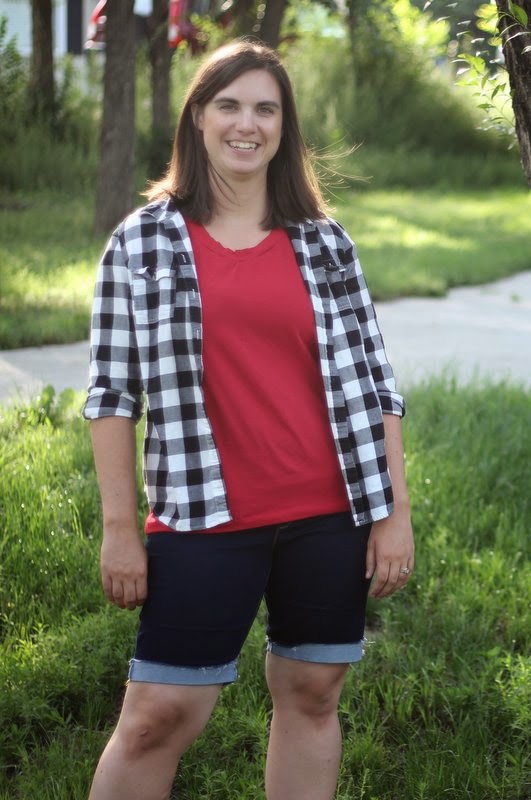
My denim is from fabric.com and is the Kaufman High Stretch Denim. It's pretty stretchy, which makes the shorts comfortable. I'd love a second pair in a lighter color with not quite as much stretch for more of the boyfriend look.

Instructions:
- Instructions were well written and easy to follow
- I was confused at first about the lapping method to construct the pants. I did it for the pockets on my muslin, but then decided that I prefer the optional construction method she mentions of stitching right sides together and then top stitching, so that is what I did for the shorts
- I LOVED!!! the video. I'm a visual learner, so it was so helpful for me to see what she was doing in each step.

Fit & Modifications:
- I added length to my muslin pants and they still ended up being cropped, which was what I was going for, so if I wanted to make a full length pant I would need to add about 5" to the legs. I'm 5'8" so I'm used to adding length to most patterns.
- The fit through the thighs and bum was great! No modifications needed.
- The back yoke was a bit large at the center seam, so I ended up picking my seams and resewing that a bit smaller. I also took it in a bit at the high hip to make it more snug. This is the modification I've had to make with every pant pattern I've followed, so I think it's more my body shape than the pattern.
- The calf on my muslin actually fit over my legs!!!! I can never buy skinny jeans in the store that fit my "muscular" legs so it was so nice that this pattern worked for me.
- I used rib knit for the waist band so I took off at least 4 inches in the length to get it nice and snug. I haven't had to pull up the shorts much either.
- To make the shorts, I just marked where I wanted the shorts to end and then added 2 inches. I slightly straightened the leg lines to that point so that they wouldn't dig in too much.
- I stitched with a light gray around the top of the cuff to keep the cuff in place and prevent it from fraying too much.

Things I love:
- Top stitching with a double needle. So smart and saves so much time. My machine didn't love doing it with the gold top stitching thread since it was thick, but I managed to get the pockets done that way before having to switch to a single neede
- Knit waist band. These shorts are so comfy and I also love that I could wear them during a future pregnancy or during that awkward post baby phase, or really just any day because who doesn't love a knit waist band
- The video was super helpful to me

Things I didn't love:
- Having to trace the pattern. I've been spoiled by pdf patterns, but maybe tracing is better than cutting and taping a pattern together.
- I could use the yoke to be a bit higher in the back. Sometimes when I bend over, it gets a bit low.
- I would have loved instructions and pattern pieces for real front pockets. I attempted with the shorts, but the pockets I made are pretty small :)

I really love this pattern and think it's a great starting point for jeans and pants, especially if you haven't sewn those before. I also think that the waist band makes them super practical for pregnancy pants and I know I'll be using it for that sewing in the future (hopefully).
My red shirt is a Union St. Tee by Hey June, sewn up in Kaufman Laguna Stretch. Plaid shirt is from Old Navy.

And because one should never take themselves too seriously, here's me frolicking through the grass :)

Sew Liberated provided me with a copy of the Simple Skinny Jeans pattern for me to review. All opinions are my own.


